
Raspberry Lemonade Cake: A Burst of Sunshine and Sweetness
There’s a certain magic that happens when simple, vibrant flavors collide. For me, it’s the memory of a particularly sweltering summer afternoon, probably around my tenth birthday, when my mom unveiled a cake that was less about rich chocolate and more about pure, unadulterated brightness. It was a fluffy, pale yellow canvas adorned with jewel-like raspberries and a delicate swirl of pink, a refreshing departure from the usual. The aroma was intoxicating – a sweet tang that promised a cooling counterpoint to the heat. That’s the essence of this Raspberry Lemonade Cake: a delightful embodiment of summer’s best, captured in a single, glorious dessert. It’s a recipe that, when requested, always brings a smile to my face, a testament to its enduring charm and sheer deliciousness.
Recipe Overview
- Prep Time: 20 minutes
- Cook Time: 30–35 minutes
- Total Time: 1 hour 35 minutes (includes cooling)
- Servings: 15
- Yield: 1 (13×9 inch) cake
- Dietary Type: Contains Egg, Dairy (with potential for modification)
Ingredients
This recipe is a clever assembly of pantry staples and bright, zesty components, designed to deliver maximum flavor with delightful ease.
- 1 cup very hot water
- 1 (3-ounce) box raspberry gelatin powder
- 1 (18-ounce) box white cake mix
- ½ cup thawed lemonade concentrate
- ¼ cup water
- ⅓ cup vegetable oil
- 4 egg whites
- 1 (12-ounce) container whipped vanilla frosting
- 1 cup whipped topping (like Cool Whip)
- 1 ½ cups fresh raspberries (for garnish)
- Lemon peel, cut into strips (for garnish)
Equipment Needed
To bring this delightful cake to life, you’ll need a few essential tools:
- Oven
- 13×9 inch baking pan
- Baking spray with flour (or butter and flour for greasing)
- Small bowl
- Medium bowl
- Large bowl
- Electric mixer (handheld or stand mixer)
- Fork
- Microwavable custard cup or small bowl
- ¼ teaspoon measuring spoon
- Spoon or toothpick (for swirling)
- Cooling rack
Instructions
Follow these steps carefully, and you’ll be rewarded with a cake that’s as beautiful as it is delicious.
-
Preheat and Prepare: Begin by preheating your oven to 350°F (175°C). Generously spray the bottom of a 13×9 inch pan with baking spray with flour. This is crucial for ensuring your cake releases cleanly.
-
Dissolve the Gelatin: In a small bowl, combine the very hot water with the raspberry gelatin powder. Stir until the gelatin is completely dissolved. Set this aside to cool slightly.
-
Combine Wet and Dry Ingredients (Cake Batter): In a large bowl, add the white cake mix. To this, add ¼ cup of the prepared gelatin mixture, ¼ cup of the thawed lemonade concentrate, the ¼ cup of water, vegetable oil, and the 4 egg whites.
-
Mix the Batter: Using your electric mixer, begin by beating the ingredients on low speed for 30 seconds. This initial low-speed mix helps to incorporate the dry ingredients without creating too much dust.
-
Beat to Perfection: Increase the mixer speed to medium and beat the batter for 2 minutes. You’re looking for a smooth, well-combined batter.
-
Pour and Reserve: Pour the cake batter evenly into the prepared 13×9 inch pan. It’s important to reserve the remaining gelatin mixture and lemonade concentrate for later.
-
Bake the Cake: Place the pan in the preheated oven and bake for 30 to 35 minutes, or until a toothpick inserted into the center comes out clean. This is your visual cue that the cake is fully baked.
-
Poke the Warm Cake: Once the cake is baked, carefully remove it from the oven. While the cake is still warm, use a fork to poke holes all over the surface, about every inch apart. This creates little pockets for the flavorful syrup to absorb.
-
Prepare the Raspberry Lemonade Syrup: Take 1 tablespoon of the reserved gelatin mixture and place it in a microwavable custard cup or small bowl. In another small bowl, combine the remaining gelatin mixture with the remaining ¼ cup of lemonade concentrate.
-
Saturate the Cake: Slowly and evenly pour the raspberry and lemonade mixture over the poked cake. You want to ensure it seeps into all those little holes.
-
Cool Completely: Allow the cake to cool completely, which will take about 1 hour. This step is essential for the syrup to fully absorb and for the cake to set.
-
Prepare the Frosting: In a medium bowl, gently fold together the whipped vanilla frosting and the whipped topping. This creates a lighter, fluffier frosting that’s perfect for this cake.
-
Frost the Cake: Once the cake has completely cooled, frost the entire top surface with the prepared frosting mixture.
-
Create the Swirl Effect: Place the 1 tablespoon of reserved gelatin mixture (that you set aside earlier) into a microwavable container. Microwave it uncovered on high for 10 seconds to liquefy it.
-
Drizzle and Swirl: Using a ¼ teaspoon measuring spoon, carefully place small drops of the liquefied gelatin mixture over the frosted cake. Then, using a spoon or toothpick, gently swirl the gelatin into the frosting. This creates beautiful, marbled patterns reminiscent of raspberry ripples.
-
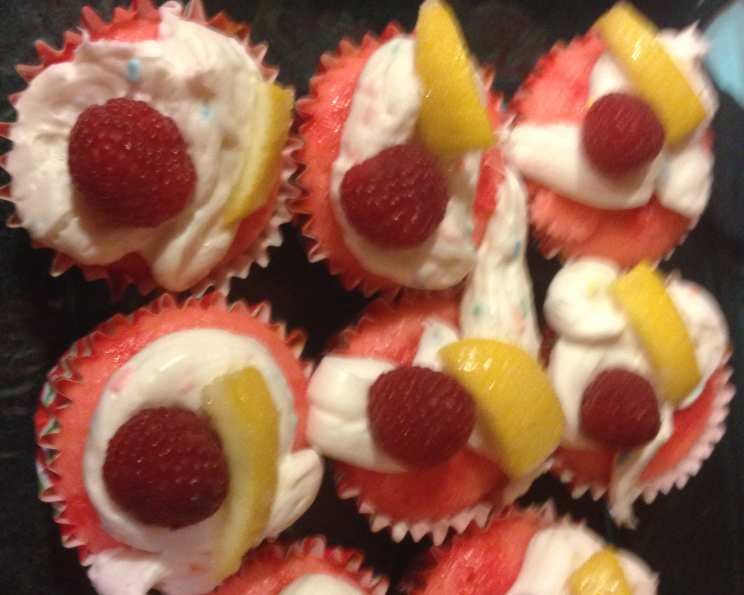
Garnish and Serve: Finally, garnish each piece of cake with fresh raspberries and delicate lemon peel strips.
-
Chill for Best Results: Store the cake in the refrigerator. This cake is best served chilled, allowing the flavors to meld and the texture to firm up.
Expert Tips & Tricks
- Gelatin Dissolution is Key: Ensure the raspberry gelatin powder is completely dissolved in the hot water. Any undissolved granules can create an unappealing texture in the final syrup.
- Don’t Skip the Poking: Those fork holes are your best friends for ensuring the raspberry lemonade syrup infuses the cake evenly. Be generous with the poking!
- Cooling is Crucial: Resist the urge to frost a warm cake. Allowing it to cool completely ensures the frosting stays put and doesn’t melt.
- Swirling Technique: For the swirled effect, don’t over-swirl. A few gentle strokes with a toothpick or spoon will create beautiful, defined patterns. Too much swirling can muddy the colors.
- Freshness of Raspberries: For the garnish, opt for firm, ripe raspberries. Gently rinse and pat them dry before placing them on the cake just before serving.
Serving & Storage Suggestions
This Raspberry Lemonade Cake is a delightful dessert that shines when served chilled. Present it directly from the refrigerator, allowing guests to admire the vibrant raspberry and lemon swirls. It pairs beautifully with a dollop of extra whipped topping or a small scoop of vanilla bean ice cream.
Leftovers should always be stored in the refrigerator. Cover the cake tightly with plastic wrap or transfer it to an airtight container. It will keep well for up to 3-4 days. The flavors tend to meld and deepen over time, making it still delicious on the second or third day. As it is already a chilled dessert, no reheating is necessary.
Nutritional Information
| Nutrient | Amount per Serving | % Daily Value |
|---|---|---|
| Calories | 344.1 kcal | |
| Calories from Fat | 119 kcal | |
| Total Fat | 13.3 g | 20% |
| Saturated Fat | 2.4 g | 12% |
| Cholesterol | 3 mg | 1% |
| Sodium | 316.5 mg | 13% |
| Total Carbohydrate | 53.9 g | 17% |
| Dietary Fiber | 1.1 g | 4% |
| Sugars | 43.2 g | 172% |
| Protein | 3.2 g | 6% |
Note: Nutritional information is an estimate and can vary based on specific ingredients and brands used.
Variations & Substitutions
- Strawberry Lemonade Cake: For a different fruity twist, use a strawberry gelatin powder instead of raspberry. The color and flavor will be equally delightful.
- Lime Zest for Extra Zing: Finely grate some fresh lime zest into the cake batter along with the lemonade concentrate for an even more pronounced citrus punch.
- Gluten-Free Option: While this recipe uses a standard cake mix, you could experiment with a gluten-free white cake mix. Be sure to check the packaging for any specific instructions or ingredient additions required for the gluten-free mix.
- Dairy-Free Frosting: For a dairy-free version, use a dairy-free whipped vanilla frosting and dairy-free whipped topping. Ensure your cake mix and gelatin are also dairy-free.
- Individual Servings: Instead of a 13×9 inch pan, you could bake this in cupcakes or smaller rectangular pans. Adjust baking times accordingly.
FAQs
Q: Can I use fresh raspberries instead of gelatin for the raspberry flavor?
A: While fresh raspberries are lovely for garnish, the gelatin is essential for creating the syrupy texture that soaks into the cake. For the flavor infusion, the gelatin powder is the most effective ingredient in this recipe.
Q: My frosting seems a bit too stiff. How can I thin it out?
A: You can gently thin out the frosting by folding in a tablespoon or two more of the whipped topping until you reach your desired consistency. Avoid adding liquid, as this can make it too runny.
Q: How do I get the swirled effect to look clean and defined?
A: The key is to use the liquefied gelatin in small, concentrated drops and to swirl gently. Don’t overwork the frosting; a few passes with your utensil are usually enough to create beautiful patterns.
Q: Is it okay to use a different flavor of gelatin?
A: You can certainly experiment with other fruit-flavored gelatin powders like strawberry or even a mixed berry for a different flavor profile and color.
Q: Can I bake this cake in a round cake pan?
A: Yes, you can bake this recipe in two 8-inch or 9-inch round cake pans. You would then frost the sides and top of the layered cake, and the swirling technique can be applied to the top layer. Baking time may need slight adjustment.
Final Thoughts
This Raspberry Lemonade Cake is more than just a dessert; it’s a celebration of bright, uncomplicated flavors that evoke joy and sunshine. Its ease of preparation, coupled with its vibrant taste and visually appealing presentation, makes it a perfect choice for everything from casual afternoon gatherings to more festive occasions. I encourage you to try this recipe, to experience that delightful burst of raspberry and lemonade with every bite. Don’t hesitate to share your creations and any adaptations you discover – the culinary world is always richer when we share our delicious adventures. Enjoy the process, and most importantly, savor every sweet, tangy morsel!